Dinner Roll Recipe
You've read the story, now for the recipe! Delicious, simple dinner rolls, let's dig in!
RECIPES
1/26/20263 min read
I make these rolls about once or twice a week, depending on how long they last. My family eats them up, sometimes quicker than the sweets! These rolls pair with any dinner you can think of: stews, soups, fried chicken, meatloaf, and more. Bake them yourself to find out! Here's the recipe:
What you'll need:
1/3 cup of warm water
3 1/4 teaspoons of active yeast
4 tablespoons of granulated sugar
5 cups of all-purpose flour
1 1/2 teaspoons of salt
2 eggs
1 cup of warm milk
1/2 cup unsalted butter - softened
What you'll do:
Whisk together your flour, yeast, sugar, and salt. You can do this in a regular bowl and a whisk or a hand mixer, or go ahead and use a stand mixer.
Add eggs, warm milk, and water. Mix until the dough is elastic.
Add the butter and knead until fully incorporated, and it can pass the windowpane test. This is simply a test of stretching the dough to prove its elasticity. You want to be able to stretch it enough that it doesn't break apart, yet you can almost see through it, hence "windowpane". I like to take my dough out of the bowl and knead it on the counter for a couple of minutes. Don't forget to dust some flour on the counter first!
Transfer the dough to a lightly oiled bowl and rest until it has doubled in size. I like to cover mine, tightly, with plastic wrap. It usually takes 1-1.5 hours to double.
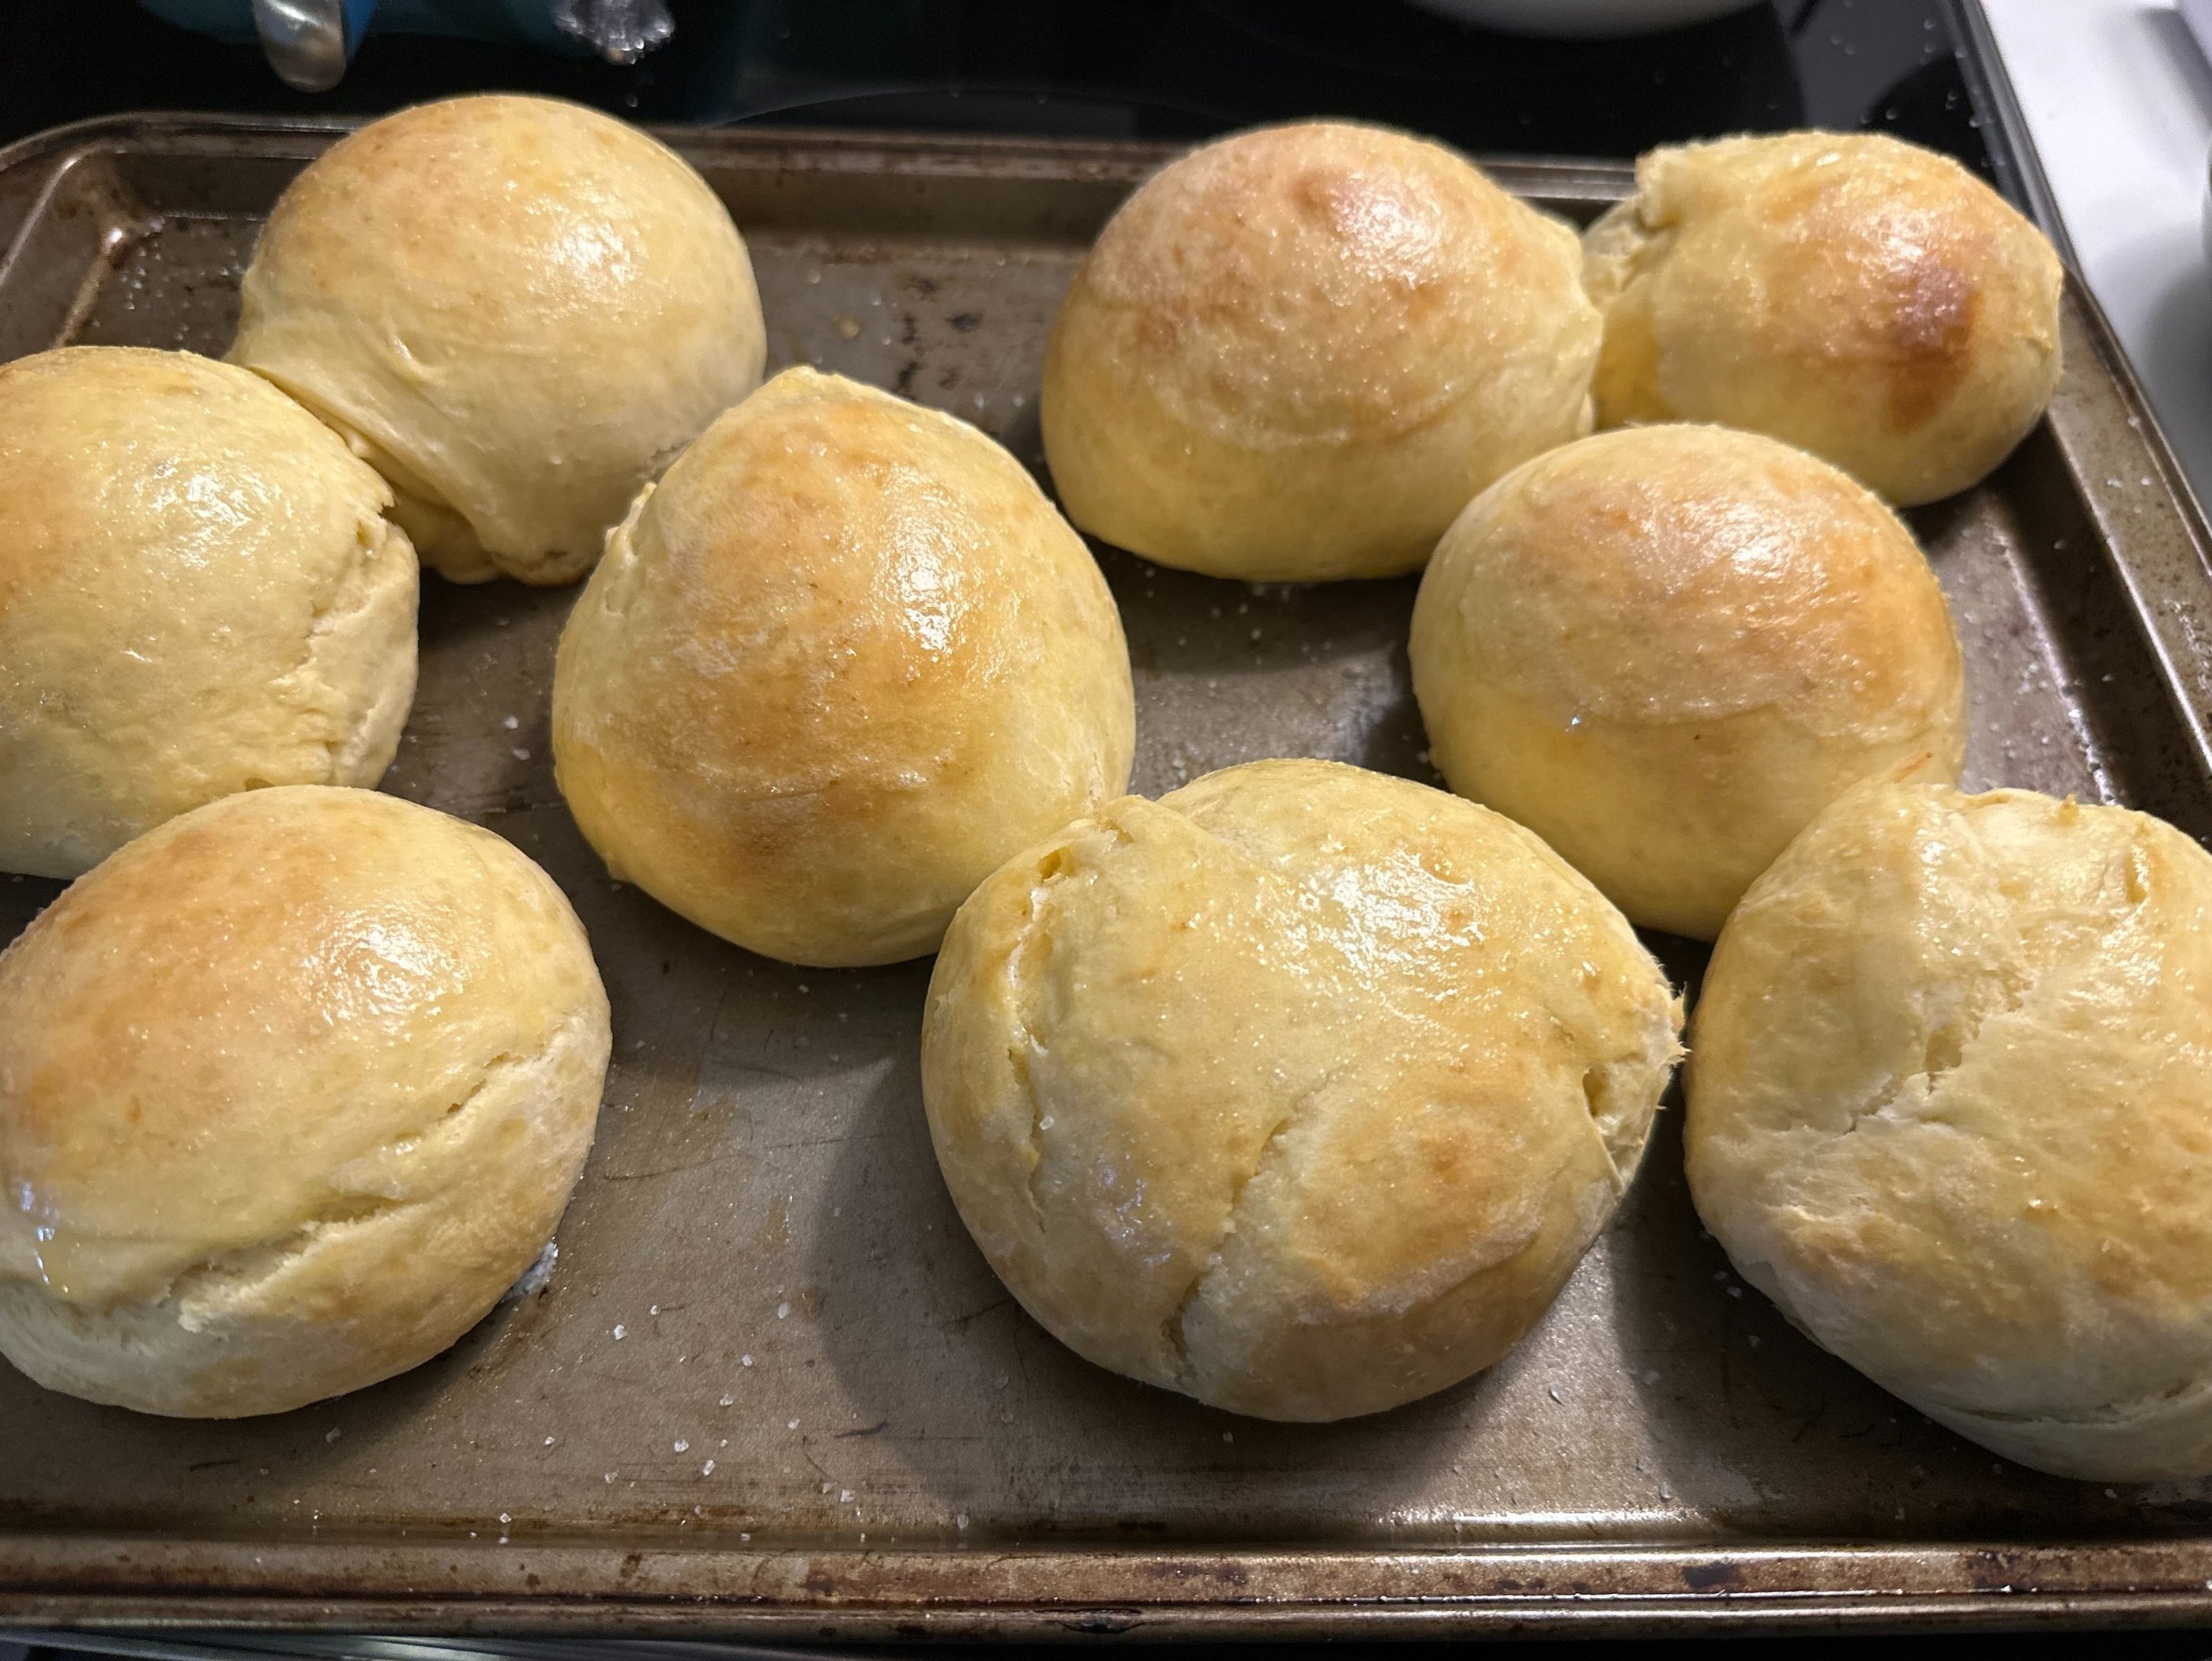
Punch down the dough and divide it into twelve pieces. I've divided mine into nine pieces before, and it works just as well; they just come out a lot bigger.
Cover and let them rest for 15-20 minutes. This is when I like to preheat my oven- 320 degrees Fahrenheit.
Brush with an eggwash before going into the oven. Bake for about 20 minutes.
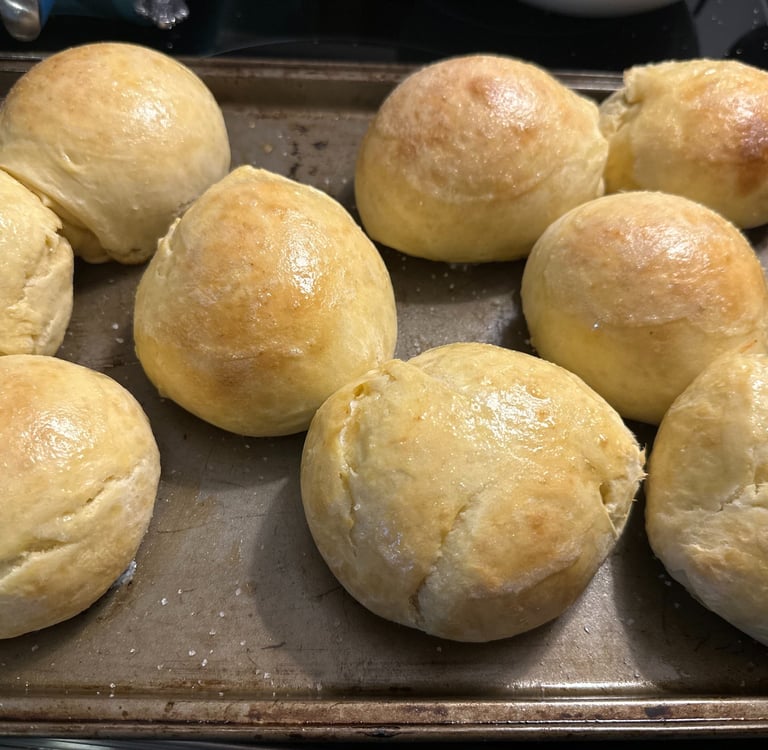
They will be a gorgeous golden brown when they're done. Brush them with butter, a slight sprinkle of salt, and serve!
I assure you, your family will not be disappointed in this recipe! It's easy, simple, and absolutely delicious. To make it even easier, you can freeze these! Follow steps 1-5, put the rolls in a freezer-safe bag or container, and freeze up to a month. When you're ready to use, lay out the desired number of rolls on a lined baking sheet and let rise for about 15 minutes. This gives them time to thaw, reach room temperature, and reactivate the yeast. They are to be baked for about 20 minutes, eggwash before is optional, brush with butter fresh out of the oven, and enjoy!
The freezer method works best if you want a few rolls and don't want to bake a whole dozen. A lot of times, I'll double the recipe, bake 6 or 8 at a time, and freeze the rest. This ensures rolls don't go bad and dough doesn't get wasted. I freeze food quite often, so it doesn't go to waste. I feel as if people don't utilize their freezer as much as they do any other kitchen appliance. I hate to waste food, so if there is a lot left of a dinner, say chili, I'll freeze the rest of it to be eaten at a later date. As long as it's in a freezer-safe container or vacuum-sealed freezer bag, it will last longer than you think. I like to use this method with all recipes, especially bread. I'll double a recipe and freeze a couple of loaves. It really saves you if you run out unexpectedly or don't have time to make some at the time.
Thank you so much for visiting and reading the recipe. Share the love, from my table to yours, with friends and family. Stay tuned for the next recipe! In the meantime, go check out my other stories, recipes, or exclusive shots from the socials- linked down below. Happy baking!