Frank Ocean Cake
Hi there, welcome to Lovingly Whisked! Today's Sweet Talk is about a very special, custom 18th birthday cake. Vanilla cake and fluffy buttercream, let's dig in!
STORIES
4/15/20264 min read
It is always such a pleasure to bake such precious moments for people. The 18th birthday is a pretty big deal, and I was absolutely honored to bake such a special cake for such an occasion! Custom cakes will forever hold a special place in my heart, and I will never forget one I've made. This one was extra special, and a theme I have never done before. It is always so exciting, not only to bake for someone I have never baked for before, but to decorate something new! That's why custom cakes are my favorite! They keep my work interesting. I have never decorated a Frank Ocean cake before, but now I have, and I love the way this one turned out! *Spoiler Alert* My customer did, too!
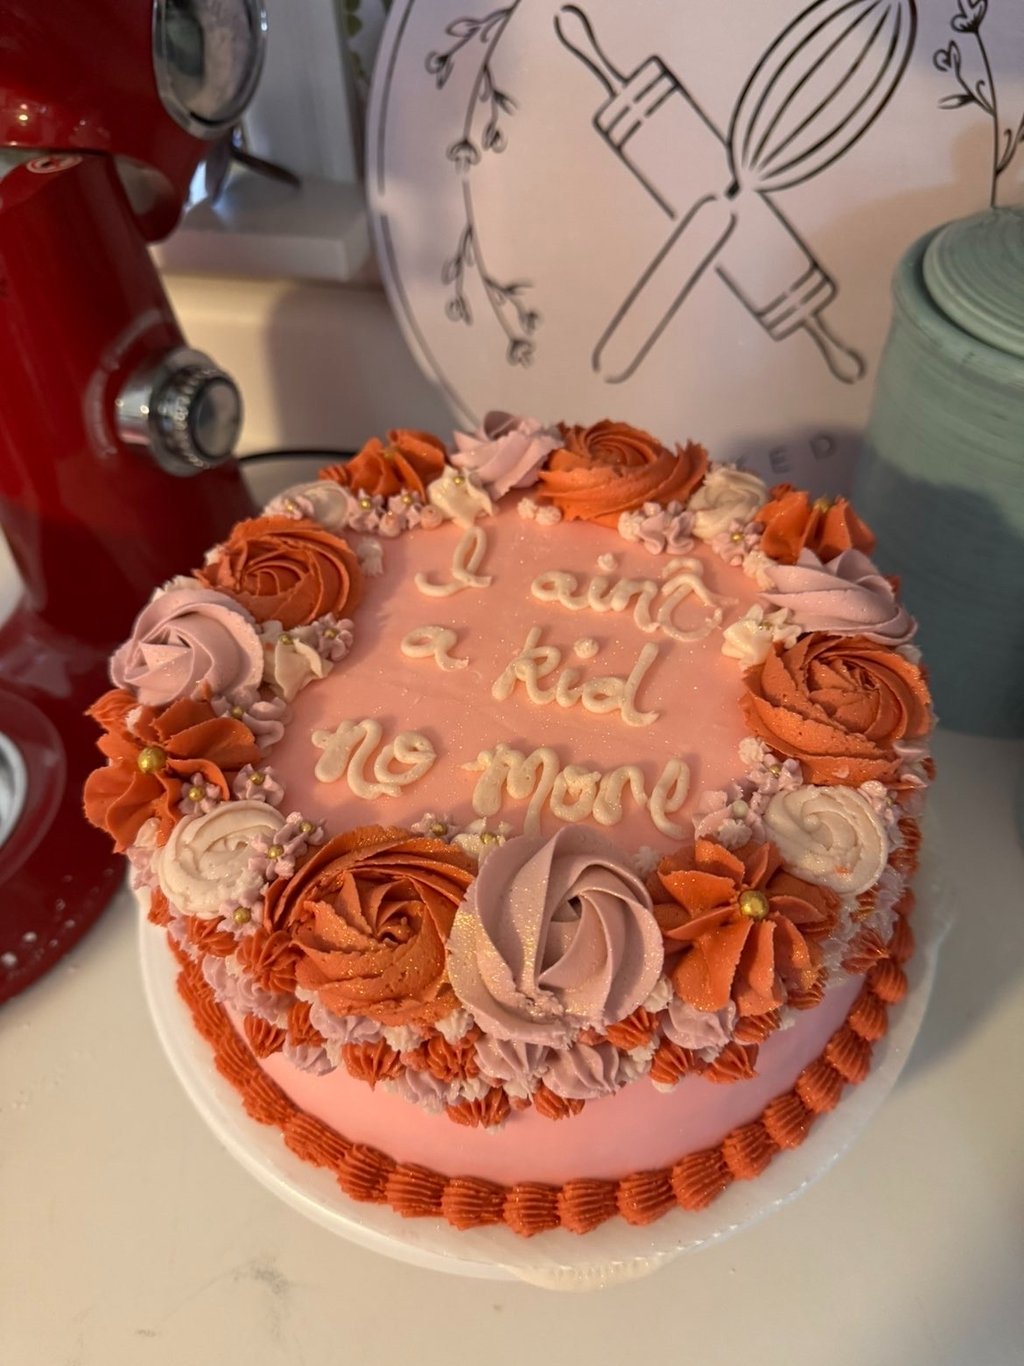
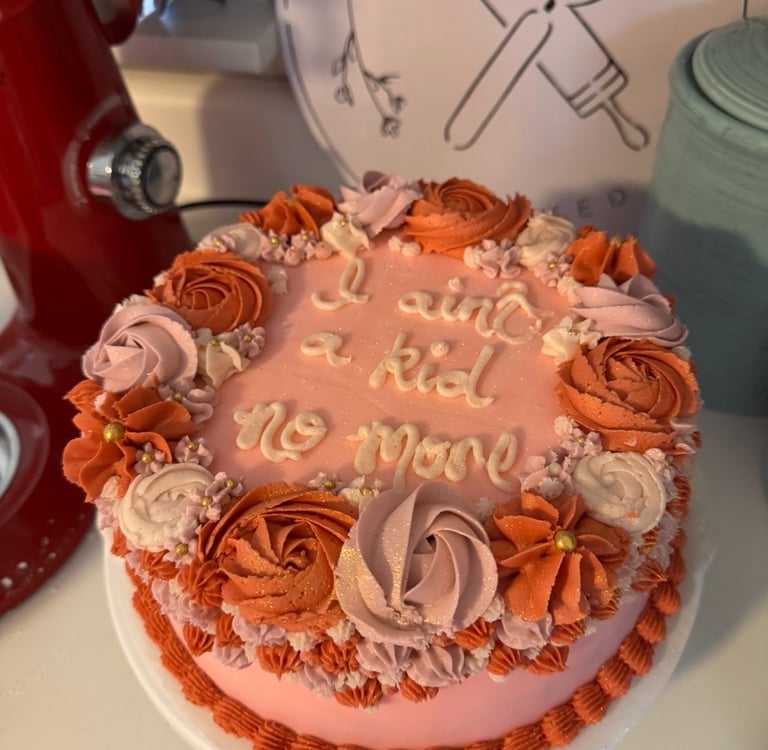
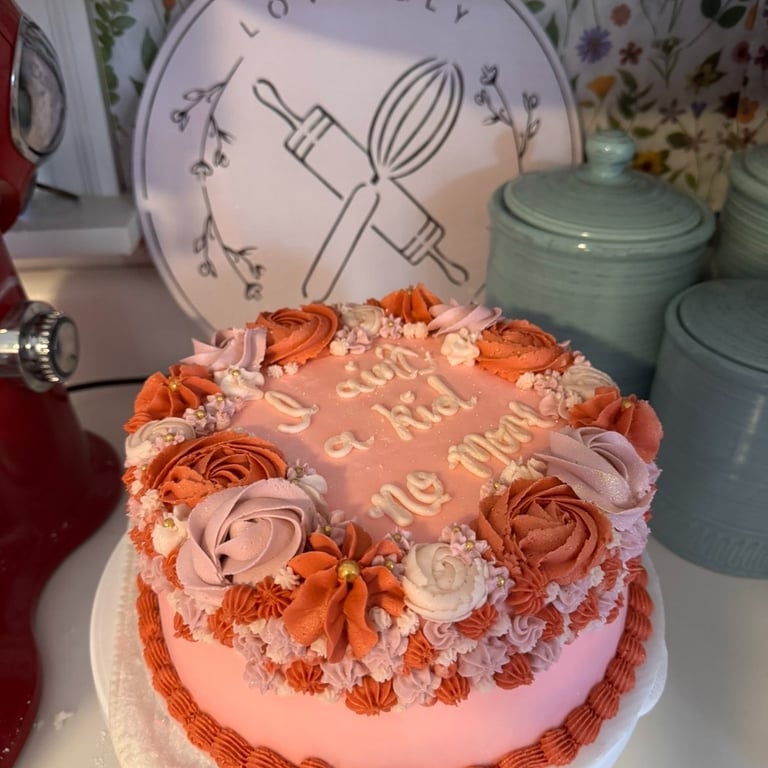
I was requested to make a 9" double-layer vanilla cake, with vanilla buttercream. I was also sent an inspirational picture, which I love getting. I do not copy other bakers' cakes directly. I will take the picture I receive and create a similar style. She wanted shades of pink, florals, and writing across the top saying, "I ain't a kid no more". Which I thought was interesting, cute, and very fitting for an 18th birthday. After some research, I discovered this particular phrase is from a Frank Ocean song! I was surprised I hadn't heard it before. Nevertheless, I got to work!
This was a fairly simple cake, and I had plenty of time to make it. Thankfully, unlike some of my other bakes, as you all know, this bake went so smoothly and very much according to plan. I had one small hiccup with my buttercream, but it was an easy fix- I'll get into that soon enough—first, the cake. This particular white cake is one of my personal favorite recipes, and a crowd-pleaser! It has a few more steps than your typical vanilla cake, but it is more than worth it! This cake is heightened by whipping egg whites, and gets its white color from clear vanilla versus typical vanilla extract. It is worth the extra work! Here's the recipe.
For this bake, I was able to buy some deli containers that make baking such a breeze! Now, I'm able to prep and pre-measure ingredients, so when it comes time to bake, I don't have to worry about measuring anymore! I simply pour my pre-measured ingredients straight into my mixing bowl. It honestly cuts my baking time in half! If you are serious about baking or bake often, these are such a great investment! I got a large set for under $7.00 at Walmart.
Once the cakes were baked, they got wrapped in plastic and tossed in the freezer while I started on the buttercream. It always takes me a little longer to color frosting. I want my colors to be perfect and make sure they are fully incorporated. Another tip: if you want full, deep colors and silky smooth buttercream, as you're coloring, take a small portion of the buttercream and microwave it for roughly 10 seconds. Stir that well and pour it back into your original bowl of fristing, mixing thoroughly. Microwaving the colored buttercream helps the food coloring bloom, allowing the color to deepen to the exact color you're looking for! You can also use a blender or emulsion blender for a similar effect. I love finding/figuring out these cool tricks, and I don't gatekeep! Whatever I know, I will share!
In between mixing colors, I went ahead and stacked the cakes and smeared on the crumb coat. This is a very important step that you do not want to forget! If you don't know, applying a crumb coat, then chilling the cake, acts as a barrier for when you actually ice the cake in the base color of your choosing. It locks those crumbs in, ensuring a beautifully smooth base coat. No crumbs, no problem! I always fill my cake layers and crumb coat with white frosting, unless requested otherwise. After the crumb coat set, and all the colors were mixed, it was time to decorate! I iced this cake in a pretty pink, then I started on the writing before decorating the borders. I am not the best at writing on cakes, and it makes me so nervous! I am one of those people who tend to get into my head about things, a bit of a perfectionist, if you will. The number of times I scraped the writing and redid it is honestly unreal, but I eventually got one that I somewhat liked. I am my own worst critic, so I tend to spend too much time on one aspect and run out of time to finish other things. This is why I do as much prep as possible. Little things, like putting my colored frosting in piping bags.
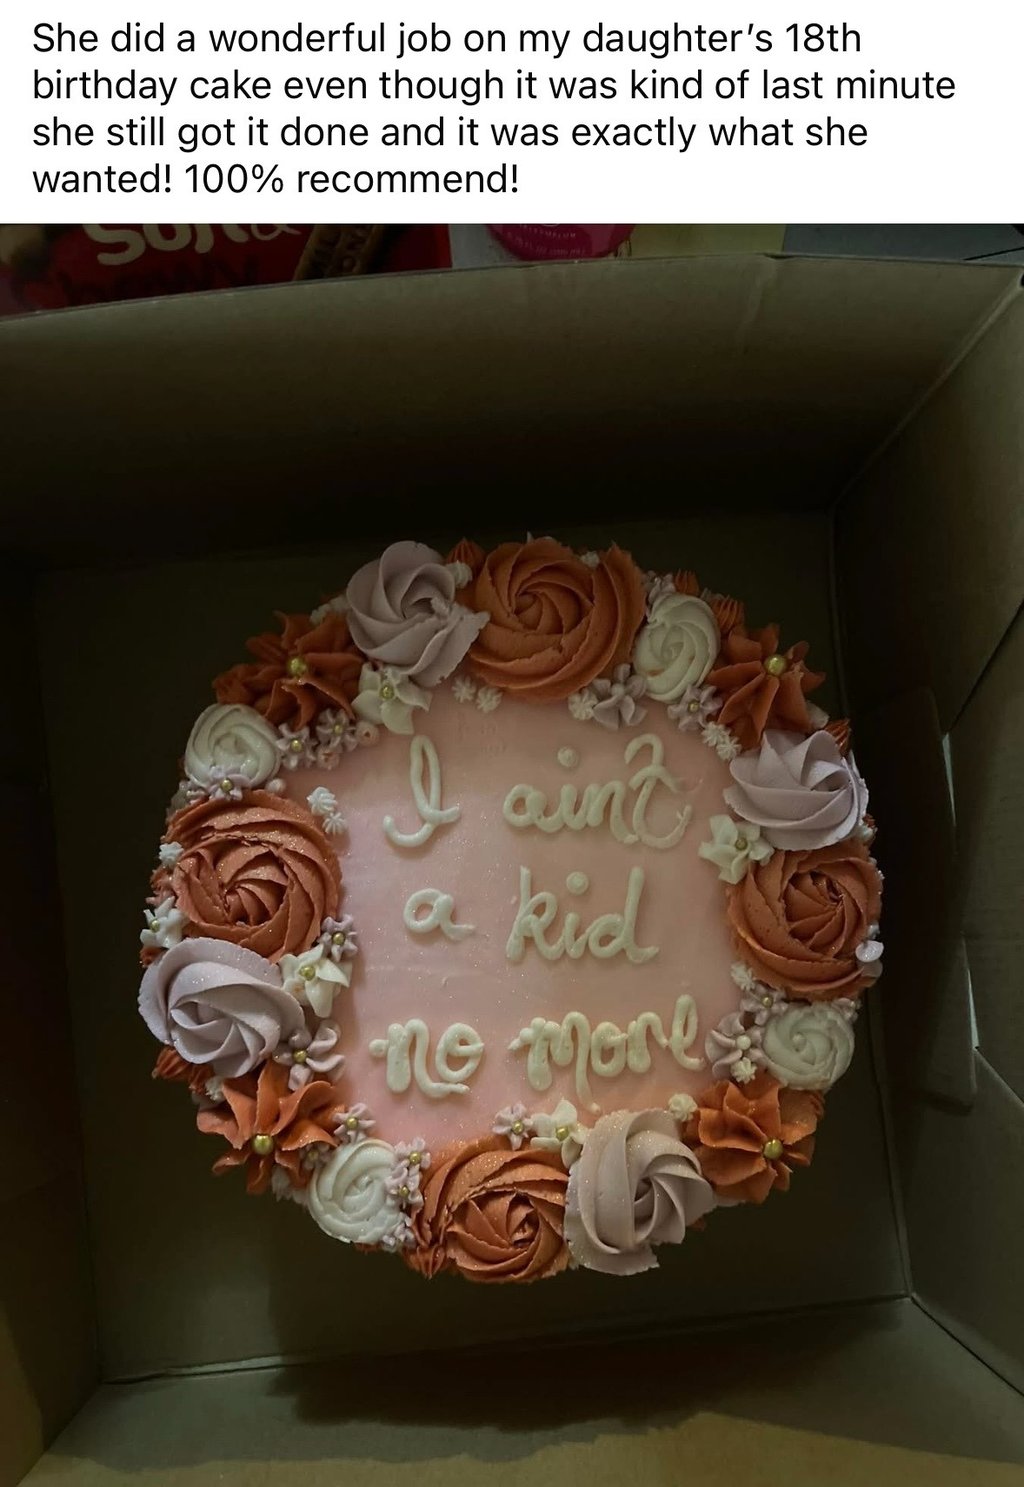
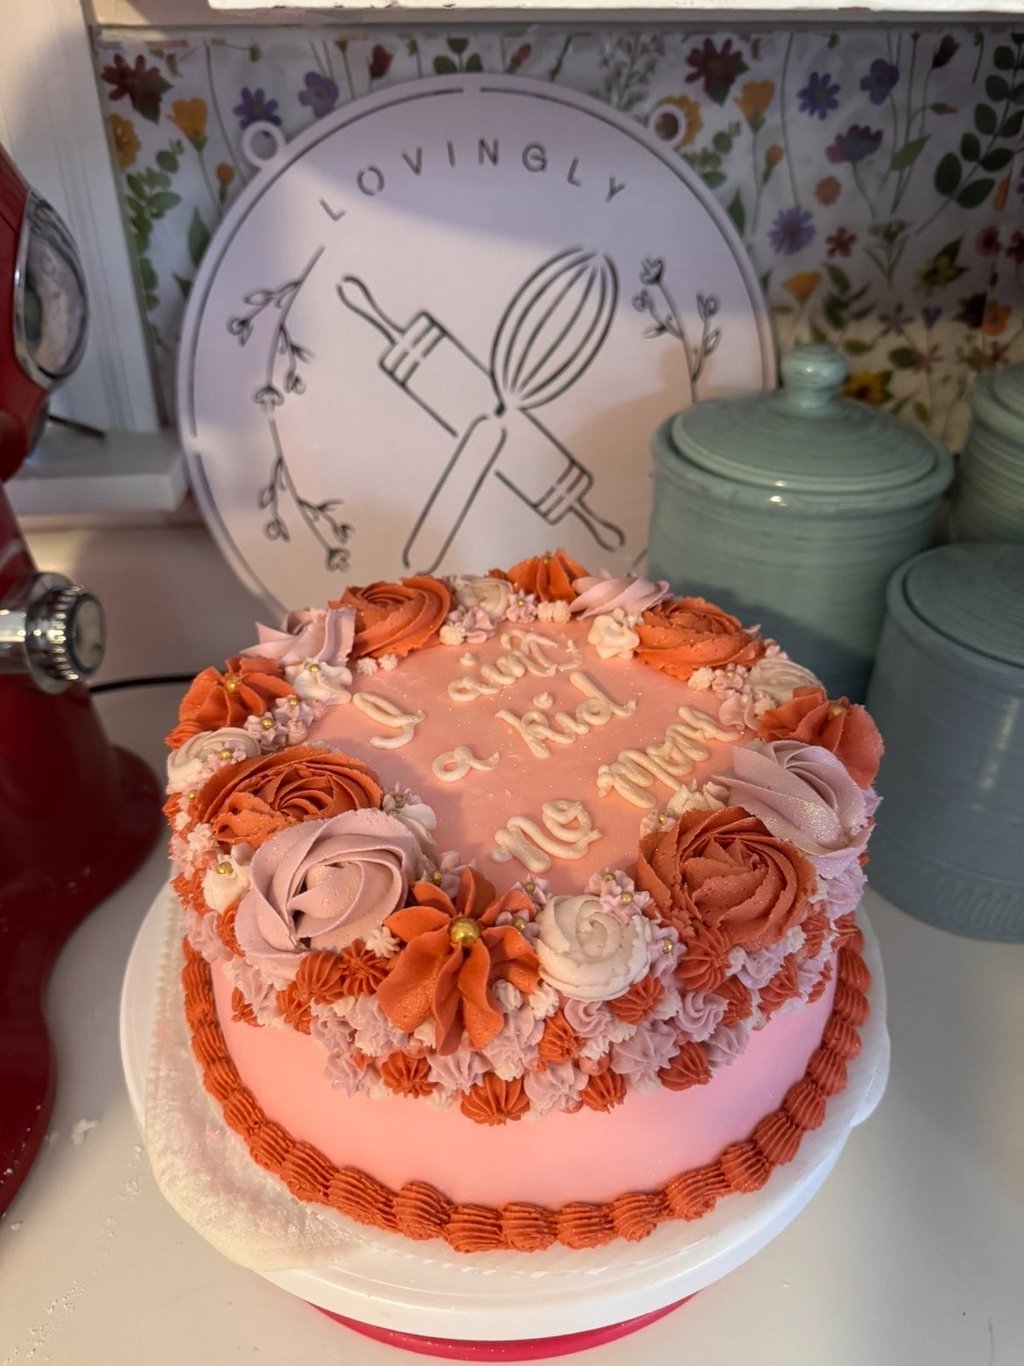
The decorations on this cake were fairly simple after I finished the writing. I piped symmetrical rossettes around the top of the cake as the border and filled in the empty spaces with smaller rossettes. I piped the bottom border, but after taking a step back, it looked empty. I decided to pipe similar rosettes around the cake, like they were falling from the border. It looked so much fuller, but not too busy. I added tiny white dollops for contrast and gold pearls to the middles of some of the flowers, dusted the cake with gold luster dust, and there she was! All finished and ready to be boxed up! I always get so nervous, yet so excited to deliver sweets. But the reaction to my bakes is why I love my job! My customer loved it! She was so surprised by the look of it and later on told me how much her daughter loved it! I am so blessed to live the life I do and get to do what I love! Enjoy the final product and the review she left me. Happy baking!
I Ain't A Kid No More

If you'd like to show your support, or see exclusive content of this bake and others, be sure to check out my social media pages! Facebook, Instagram, and TikTok are all linked below, and a follow would be greatly appreciated! Thank you so much for being here, and I look forward to seeing you on the socials! <3